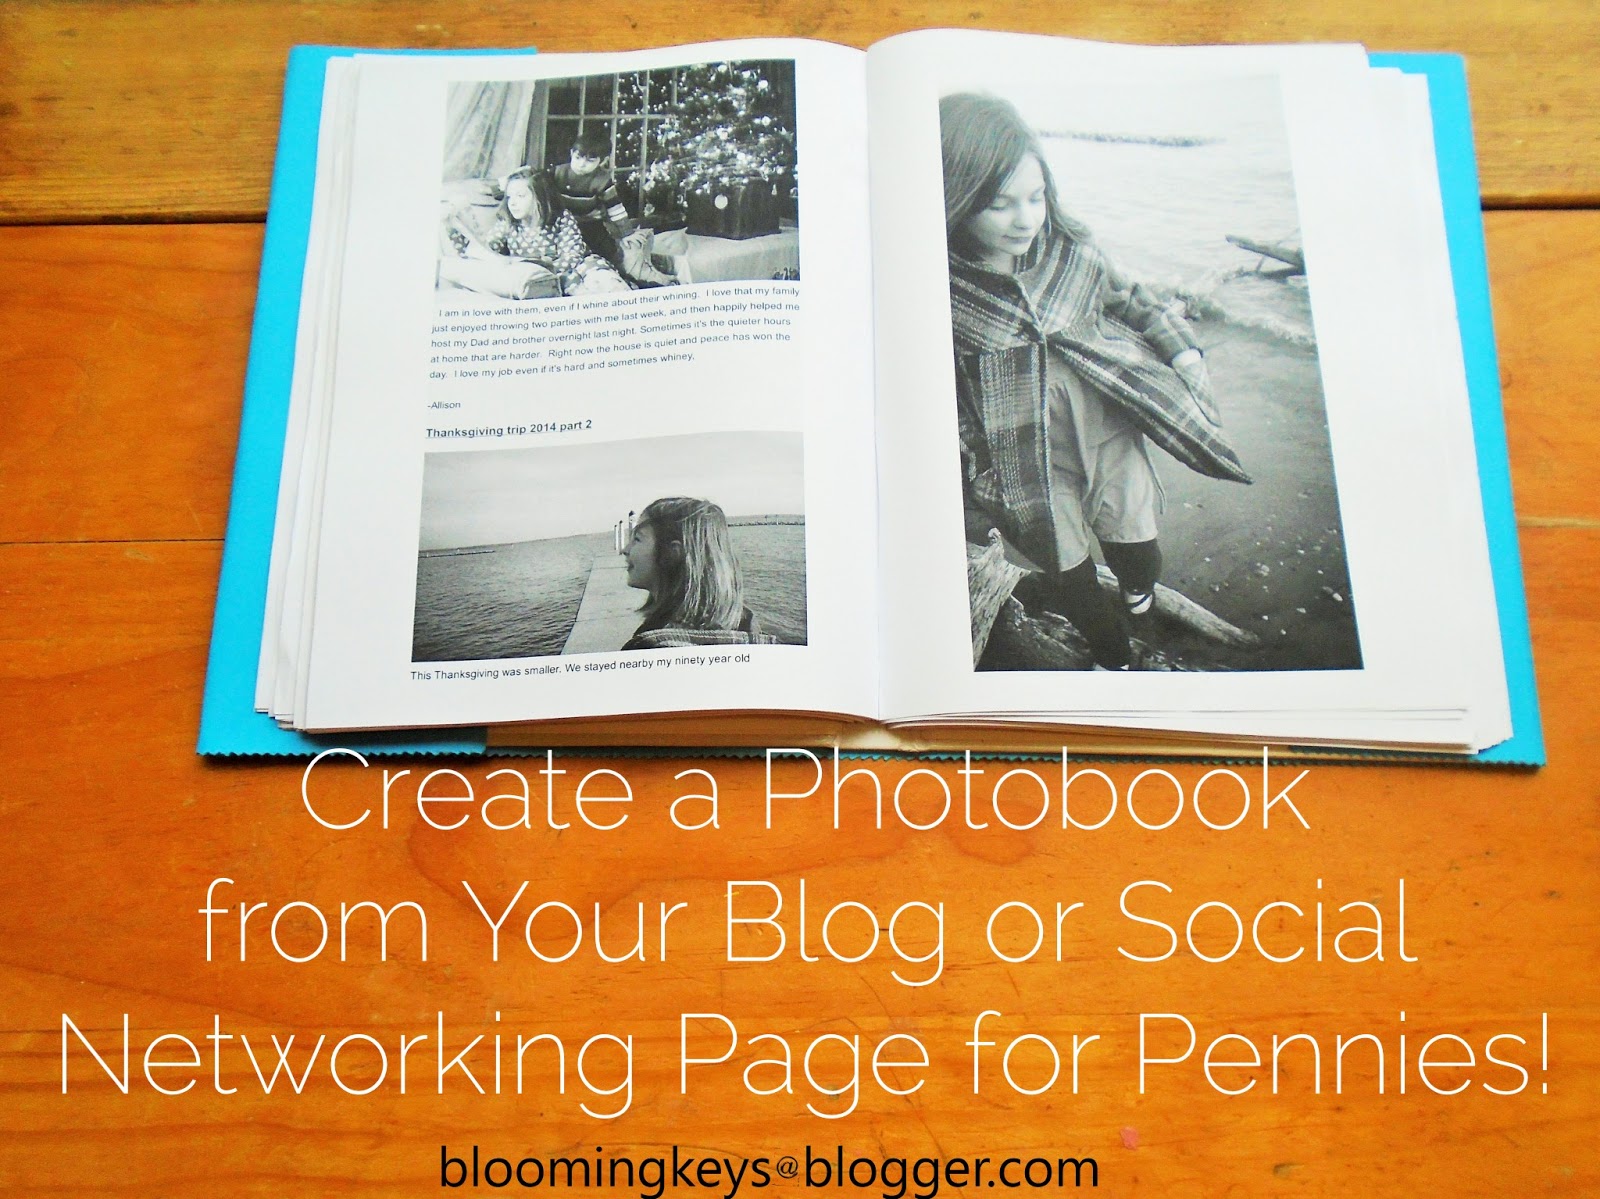
This two hundred page photobook cost less than ten dollars to create
.
I wanted to have a book version of my family blog SeeTheKeysGrow. The blog has over a hundred posts however, and I knew printing out with a professional printing site would cost a pretty penny! When we got a laserjet black and white printer I decided to try and print one myself. I am happy to say it looks amazing!
Supplies:
- Copy paper
- Laserjet printer
- Book from the thrift store that is just a little larger than 8.5x11 inches
- Large (18x11 inch) piece of paper for the cover
- Scissors
- White Glue
- Stapler

- Go to your blog or social networking site and select print from the top right window's toolbar.

2. If printing a blog try checking the simplify page Option. It took all the computer setting and ads off my page. It didn't work so well for me with Facebook.

3. Select Custom setting under Margins heading on the same page.
I brought my side margins in to 1.25 inches to allow for the book spine and make it look cleaner.

4. Now print your pages, but remember to print front and back (my printer didn't have this setting so I had to print odd pages and then turn them over and print the even pages on the other side) God bless you if you have to do this too.
5. Cut off the cover of your book by cutting between the end page and the cover.


There, now you have freed the book cover!

6. Carefully cut or tear the (always blank) end pages off the front and back of your coverless book. We will use these for endpapers.

7. Put a blank page at the front and back of your printed pages.

8. Add the end pages you tore off to the front and back of your stack of pages.

9. Divide your pages into staple-able groups. Stack each group evenly.

10. Staple 4-5 staples on the very far left side of each stack.
11. Glue along your stapled edge on each stack. Put stacks together in order.
Now you have your book pages!
12. Glue the inside of the spine.

Ok, that's not enough glue now pour on some more!

13. Stack your bookpages carefully and then place inside the cover.

14. Glue your the endpaper in your cover to the endpaper in your photobook.


Make sure the pages are pressed into the glue.

14. Put a larger book (I used a board) on top of your closed cover, just beside the spine.- and counting is not my strong suit.
15. Put something heavy on top to press.


Now to make a jacket for your naked, still wet book.

16. Fold out your old jacket, and use to trace onto your large sheet of paper.

18. Let your book dry for a couple of days. (Or if you are me get impatient and go ahead and throw caution to the wind and put your cover on a still drying book).
17. Line up spine in the middle of the jacket and fold jacket over the cover. (Again Allison's counting =bad)

But Allison's book=Beautiful!


This will be the first of many! If you created a photobook please share a picture in the comments below.


No comments:
Post a Comment